No Longer Sticky and Tricky!
By Rodney Hsu, Fishing with Rod | Published in October 2004

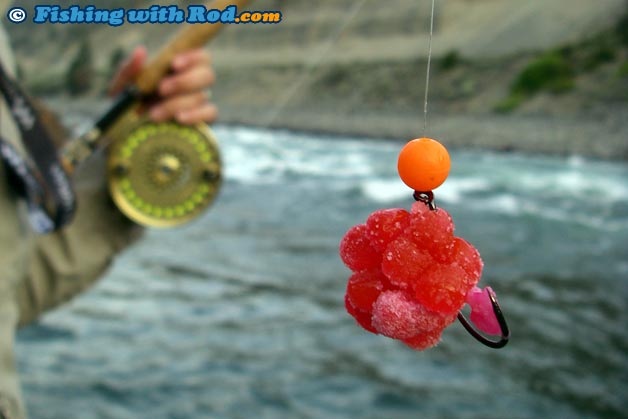
So you managed to get a batch of fresh roe, which is the best ticket to a fantastic coho fishing trip for any drift angler. The problem now is, how exactly should you cure it so you can use it to its full potential? Curing roe is no difficult task, but a few neglects on small details can make a grown man cry. Good roe catches fish, while bad roe leaves your float dry and a pair of messy hands all day long.
While there are hundreds of curing recipes available, all of them share similar steps during the preparation. They differ in ingredients used and time spent on each step. This article is simply a generic guide that assists you to get started on your personal favorite curing recipe.
Equipment that are needed for this project can be fetched easily. You will need a pair of rubber gloves, a couple of big tubs for the curing brine and racks for drying. Typical ingredients include salt, borax, brown sugar, commercially bought cure such as Procure, and water.
Brine Preparation
Fill up one tub with four to six cups of water. Add a cup of salt, a cup of brown sugar and a cup of borax into it. Stir well until it is well dissolved. For colouring purpose, you may also want to add some commercial curing powder into your brine. I prefer Procure Double Hot Red as the colour stands out quite nicely. The amount added depends on your preference of colour. If you wish the roe to retain the natural look, then it is wise not to add too much.
Brining
The purpose of soaking roe in a brine bath is to produce bait that is firm and visually appealing to the fish. Once the brine is prepared, roe can be placed into the brine immediately. Make sure your roe is split open so most eggs are exposed to the brine. Do not overload, as you want your roe exposed to the brine evenly. The entire brining process will take between 30 to 60 minutes.
Drying
This is a crucial step. Once brining is complete, place your roe onto the drying rack with the skein side up. It's best to have a tub underneath the racks to collect liquid during this process. Drying should not take place under the sun, it should be done in a shaded and well-ventilated area. The entire drying procedure can take up to 12 hours. The duration really depends on how firm you would like your roe to be. If the roe is too wet, it does not stay on the hook very well. If it is too hard, then it isn't as enticing to the fish. It's best to check its texture regularly after six hours. One way to be more efficient is to finish the brining process at night and dry the roe overnight.
Packing
Proper roe storage may extend its life span greatly. After expending so much effort on curing, the last thing you would want to do is ruining it by packing incorrectly. The most popular method is to bury the roe in borax, which I find can be rather messy while fishing. Borax can certainly keep your hands dry and clean; however each fine grain can easily get into your reel, which may lead to catastrophic consequences. One way to avoid the use of borax is to wrap each skein in saran wrap and place them in the freezer. Take the skeins you want to use out the night before your fishing trip, and they will be ready when you reach the river bank in the morning.

